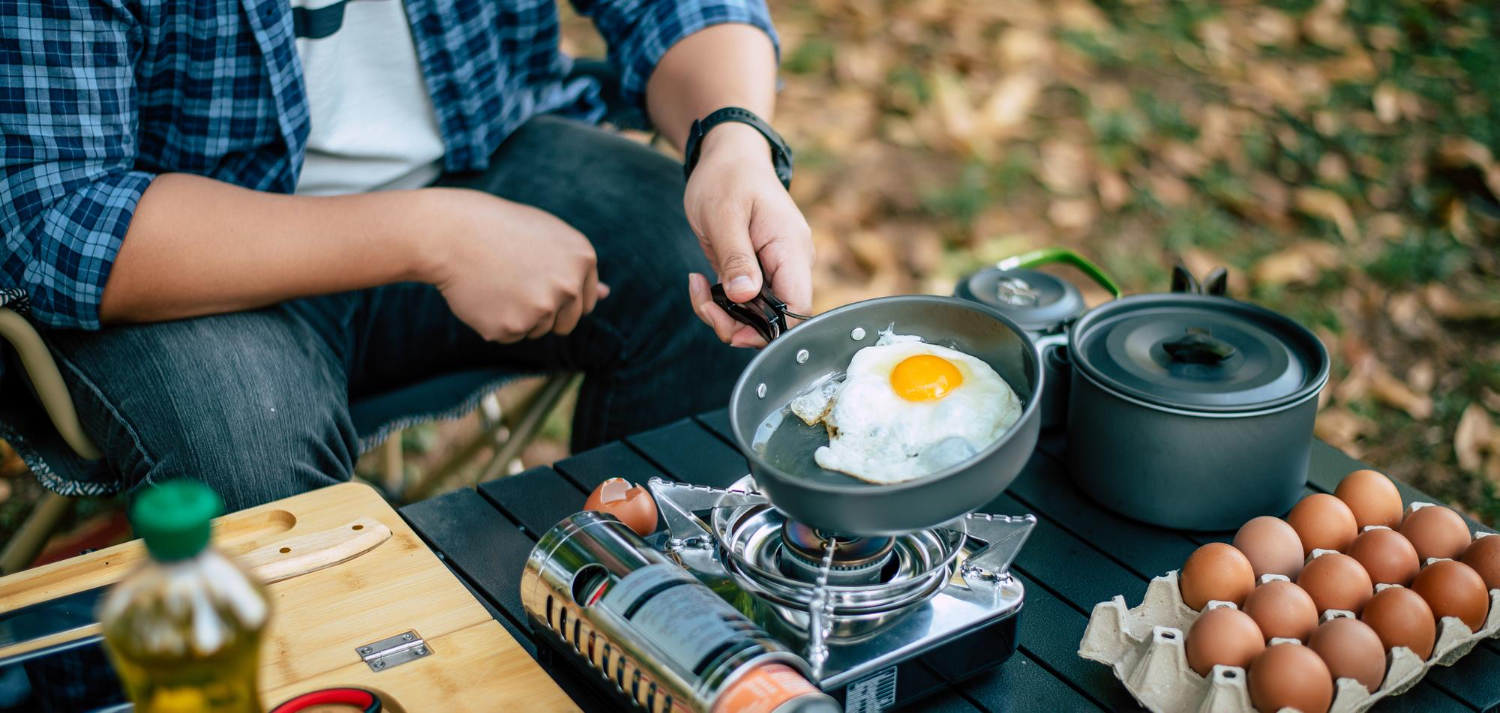
STAMP MASKING TECHNIQUE

Software: Ulead PhotoImpact 6 and 7
Author: Hillary Sadur
Home Page: EwaNevaland
PI Projects:  www.reflectionshawaii.com/pi

Skill Level: All

Featured Tools: Mask\Stamp Tool\Fill Tool

Description:  This is a fun technique to create your very own unique mask for photographs, or portion of a photograph.  By applying different stamps, backgrounds and textures, you can achieve some very nice results.


This is one of the Christmas cards I did for the PIRC Bulletin Board for 2001, utilizing my snowflake stamp (available in my Free Stuff)


1. First, using your Browser Manager (right-hand side of your workspace), and open the photo you will be working on.  Make sure that the picture is merged.

(For the purposes of this tutorial, I opened a picture I'd taken at the North Shore of Oahu. As you will note, there was a red caution ribbon blocking the beach which I did not want in my graphic.) . The original dimensions were 640x480.

Click here if you want to use my photo. (Photo will open in a new window.  Just right-hand click and save to your hard drive.)


2. Click on Mask Mode ; click on the Selection Tool (rectangular) and choose the area which will be mostly clear.  Note:  Remember to leave some room for the stamps to be outside the area (for a more artistic effect) .  

(Note:  Any of the Selection Tools, i.e., circle, oval, square can be used -- as well as painting the area to be covered with the Paintbrush Tool and the color White).

You will see that my mask color is white and 40% transparent.  These settings can be found in File/Preferences/General/Transparency Settings at the bottom.  This seems to work fine for most of the projects I do.

3. Choose the bucket fill tool and the color WHITE & fill the selection.  The picture will look clear where you've applied the WHITE.

4. Click on the Stamp Tool, then Select a stamp. Choose the seashell.

5. You may vary the settings regarding the size of the stamp, but it is well to select a stamp scaled smaller than 100% of its size. You also have the option of using just one stamp or random stamps. It is a good idea to choose that the objects be separated, in order to position them the way you like them. 

For this demonstration the scale=75%; spacing=100; order=Random; Placement=Trail; Object=Separate

Note: PSP Tubes can be imported for this technique as well as UFO objects also.  You are only limited by your imagination.


7. Stay in Mask Mode to Stamp around the edges in a random fashion.  It is perfectly fine to stamp into the already clear part of the picture.  After you have finished applying the stamps around the edges, you may choose each one individually and make any placement adjustments by moving the stamps one at a time.  You can also delete any stamps you don't want because each is separate.

NOTE: At any time, you can click out of mask mode to view the image, in case you're not sure of particular details.


8. Click on the Mask to leave the Mask Mode. Your photo should look like this:


(Now is a good time to save your work as a UFO file.)


9. Make sure that the background color is what you want, that you are NOT in the Mask Mode; then Select Edit, Copy, Paste as New Image. 

 The Shortcut keys would be: Ctl C (copy), Alt E, P, N (edit/paste as new image) and select Merge All.

Note:  DO NOT Merge until you are satisfied that this is the background you desire.


10. You can "play" with other backgrounds or even use the Fill Tool while the Selection is still active to try out different "looks".

Here's an example of using multiple colors:


Here's an example of using just two colors:

Note:  If you want to do a variation on a theme, you can Crop the image using the Selection Tool (rectangular); Select All (Ctl A) and then apply the Effect/Paint on Edges while in the Stamp Mode (same settings other than reducing Scale=50% and Placement=50% and achieve the following result:


That's it. Just sign it and claim it as your own!  Good luck, enjoy yourself and email me if you have any comments, questions or suggestions.  I would also love to see what you've done with this tutorial.    Hillary
Here are some other examples that I did some time ago for the PIRC Bulletin Board.  Obviously, the flower stamp was not the best choice, but you can have some idea of the possibilities.  The photo on the left was a two-color linear fill; the photo on the right was a black fill.  Again, DO NOT merge the picture before using the Fill Tool.

This photo was masked using the color white and the paintbrush, then randomly Painting on Edges with the Stamp Tool.

Home ] Up ] Painting Hair ] Photo Sketching Technique ] Sketching to Painting a Lighthouse ] Z-Merged Menubar Technique ] [ Stamp Masking Technique ] Learn To Mask ] Drawing a Rose ] Painting an Apple ] Painting a Dingbat ]

Hit Counter Visitors